Sprinter T1N Wiring Reference Numbers
Look up every switch and control S-code on your 2002–2006 T1N Sprinter for safe DIY electrical modifications.
All S-codes documented below
Lighting, HVAC, doors, safety, and more
All switch references start with "S"
Mercedes, Dodge, Freightliner
What Are Wiring Reference Numbers?
Each switch, sensor, and electrical control on the T1N Sprinter (2002–2006) is assigned a reference number, typically starting with S, that appears on official wiring diagrams. These identifiers let you trace circuits, diagnose faults, and plan safe modifications.
For example, S2 is the combination switch (lights, wipers, turn signals, horn), while S45 is the driver's door lock switch. Whether you're installing a fuse block, chasing a broken switch, or adding accessories, these reference numbers are essential.
Switch & Control Reference Table
| Code | Name | Category | Description |
|---|---|---|---|
| Combination Switch (S2) | |||
| S2 | Combination (Multi-Function) Switch | Controls | Master switch: high beam, exterior lights, turn signals, horn, wash, and wiper functions |
| S2s1 | High Beam Selector | Lighting | Toggles high beam headlights on/off |
| S2s2 | Exterior Light Switch | Lighting | Controls headlights and parking lights |
| S2s3 | Turn Signal Switch | Signals | Activates left/right turn signals |
| S2s4 | Hazard Warning Switch | Signals | Activates hazard warning flashers |
| S2s5 | Horn Contact | Signals | Triggers the vehicle horn |
| S2s6 | Wash Button | Wipers | Activates windshield washer system |
| S2s7 | Wiper Switch | Wipers | Controls windshield wiper speed settings |
| Lighting | |||
| S6 | Additional Lamps Restart | Lighting | Restarts additional lighting systems |
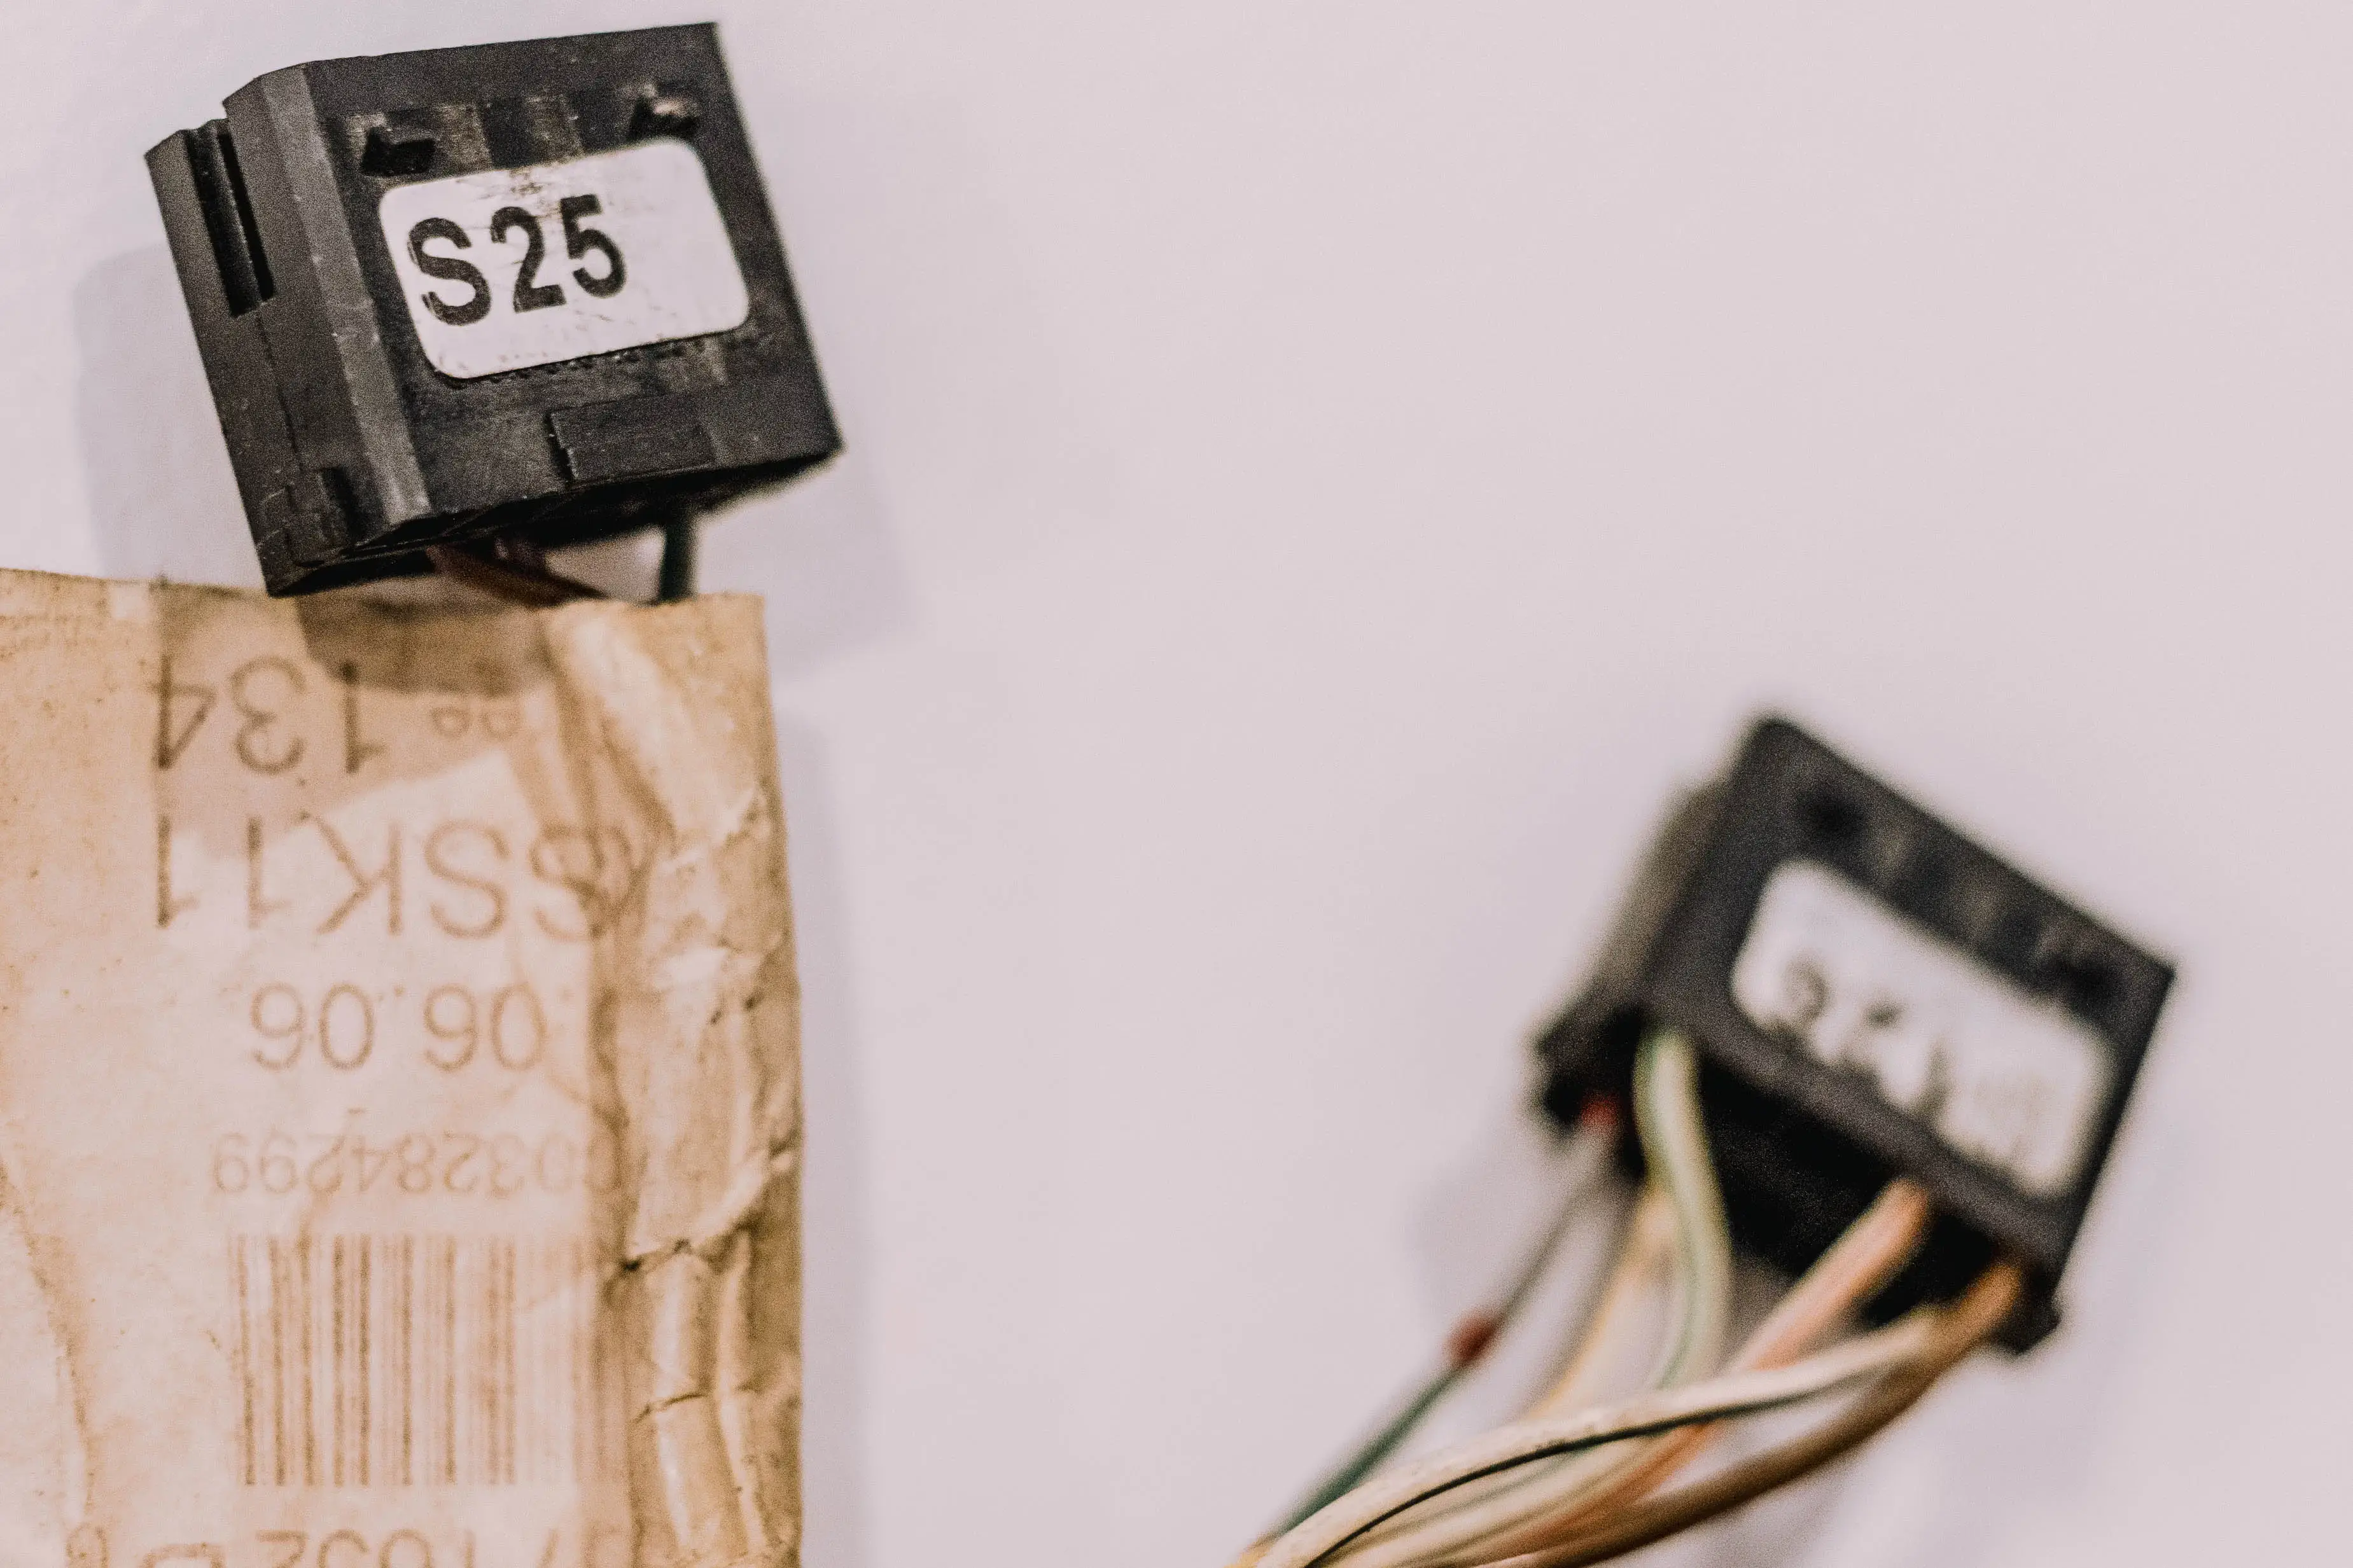
| S25 | Headlamp Range Adjustment | Lighting | Adjusts headlamp beam angle for load compensation |
| S44 | Rear Fog Light Switch | Lighting | Activates rear fog lights |
| S85 | Driver Interior Light Pushbutton | Lighting | Controls driver's side interior lighting |
| S86 | Rear Interior Light Pushbutton | Lighting | Controls rear interior lighting |
| S119.1 | Fog Light Switch | Lighting | Activates front fog lights |
| S124 | Reading Lamp Switch | Lighting | Controls cabin reading lamp |
| HVAC & Climate | |||
| S3k | High Pressure Switch (Cooling) | HVAC | Monitors high pressure in cooling system |
| S4 | Low Pressure Switch | HVAC | Monitors low pressure in cooling system |
| S34b | 2-Stage Heat Exchanger | HVAC | Controls two-stage heat exchanger system |
| S39b | A/C Switch (On/Off) | HVAC | Toggles air conditioning on/off |
| S41b | Evaporator Temperature Switch | HVAC | Monitors evaporator temperature for A/C |
| S42b | Low/High Pressure Switch (A/C) | HVAC | Monitors combined pressure in A/C system |
| S81 | Rear Window Heater | HVAC | Activates rear window defroster |
| S87 | Auxiliary Heater Switch | HVAC | Controls auxiliary heater system |
| S90 | Roof Fan Switch | HVAC | Controls roof ventilation fan |
| S100 | Aux Heat Exchanger Pushbutton | HVAC | Controls auxiliary heat exchanger (dual settings) |
| Doors & Locks | |||
| S41 | Crewcab Right Door Contact | Doors | Detects right crewcab door open/closed status |
| S42 | Left Door Contact | Doors | Detects left door open/closed status |
| S43 | Right Door Contact | Doors | Detects right door open/closed status |
| S45 | Driver Door Lock Switch | Doors | Controls driver's door locking mechanism |
| S114 | Left Sliding Door Contact | Doors | Detects left sliding door status |
| S115 | Right Sliding Door Contact | Doors | Detects right sliding door status |
| S116 | Tailgate/Rear Door Contact | Doors | Detects tailgate or rear door status |
| S126 | Central Door Locks | Doors | Controls central locking for all doors |
| S25b–S32b | Swinging Door Switches (Bus) | Doors | Detects swinging door status on bus/passenger models |
| Windows & Mirrors | |||
| S101 | Exterior Mirror Switch | Mirrors | Controls power-adjustable exterior mirrors |
| S106 | Passenger Window (Driver Door) | Windows | Controls passenger window from driver's door panel |
| S108 | Driver Window (Driver Door) | Windows | Controls driver's window from driver's door panel |
| S109 | Passenger Window (Passenger Door) | Windows | Controls passenger window from passenger door panel |
| Seats | |||
| S12 | Driver Heated Seat | Seats | Controls driver's seat heating system |
| S107 | Passenger Heated Seat | Seats | Controls passenger's seat heating system |
| Safety & Security | |||
| S18 | ATA (Hood) Contact Switch | Security | Detects hood open/closed for anti-theft alarm |
| S21 | Horn Switch | Safety | Secondary horn activation switch |
| S48 | ASR Switch | Safety | Activates/deactivates Anti-Slip Regulation (traction control) |
| S53 | Steering Lock | Security | Steering lock with mechanical repeat-start lockout |
| S73 | Warning Signal System | Safety | Controls the warning signal system |
| S80 | Parking Brake Switch | Safety | Detects parking brake engagement |
| S92 | Panic Alarm Button | Security | Triggers panic alarm for security |
| S97 | Panic Alarm Button (Secondary) | Security | Secondary panic alarm activation |
| S99 | ATA Towing/Motion Sensor | Security | Controls anti-theft towing and interior motion sensors |
| S127 | Trailer Recognition Switch | Safety | Detects trailer connection for electrical systems |
| Mechanical | |||
| S8k | Pop-Up Roof Lower Limit | Mechanical | Detects lower limit of pop-up roof mechanism |
| S9 | Pop-Up Roof Upper Limit | Mechanical | Detects upper limit of pop-up roof mechanism |
| S57 | Differential Lock Switch | Mechanical | Engages differential lock for traction |
| S104 | Differential Lock (Secondary) | Mechanical | Secondary differential lock control |
* Always consult your T1N service manual or a professional technician for electrical work. Switch functions may vary by configuration and market.
DIY Wiring Safety Tips
Adding accessories to your T1N? A misstep can blow modules, cause shorts, or trigger false warnings. Wire it right from the start.
Use a Dedicated Fuse Block
Never splice into factory wiring. Run a Blue Sea Systems fuse block with its own fused battery feed. Keeps accessories isolated from the vehicle's sensitive electronics.
Fuse Everything
Every added device (USB ports, fans, inverters) needs a properly rated fuse as close to the power source as possible. Use inline fuse holders for individual circuits.
Ground Properly
Poor grounds cause flickering lights and ESP/ABS faults. Ground to clean bare-metal chassis points with star washers and dielectric grease. Never share grounds between high-draw and sensitive circuits.
Use Correct Wire Gauge
Select wire size based on length and amperage; undersized wire overheats. Use a wire gauge calculator and always go up a size if in doubt.
Protect Wiring Runs
Use split loom tubing when routing through metal panels or behind trim. Many faults come from chafed insulation months after installation.
Label Everything
Use heat-shrink labels or a label maker on every wire. Don't rely on color alone, as T1N wire colors can change between model years and markets. Future you will thank you.
Recommended Tools & Supplies
*Affiliate links: purchases support the site at no cost to you.
Frequently Asked Questions
Need Help with T1N Wiring?
Join the community for expert advice and DIY electrical tips from fellow T1N owners.
Ask the Community